
Start with a short test recording
A recording of a few seconds is a practical check before a long tutorial. Confirm the microphone input, application sound and capture area together. Headphones can reduce sound from speakers being picked up by the microphone again. Speak and play a sound in the application during the test.
Balance microphone and system audio
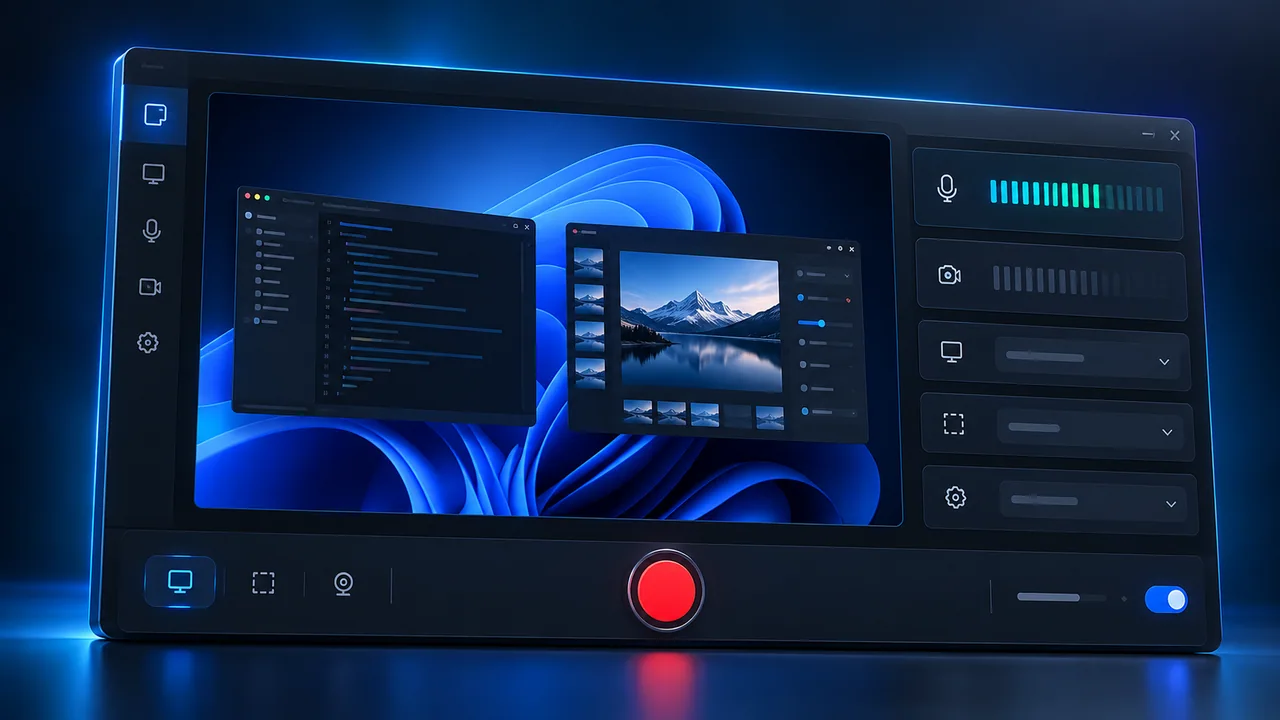
In a tutorial, viewers should be able to hear the narration clearly. If game or application audio overwhelms speech, reduce that audio level. Recording several microphone sources at once can also produce unexpected echo. Level meters help, but listening to the result is still necessary. Our Content Record Pro design treats these sources with separate meters.
Prepare the screen for your explanation
Close unnecessary windows and make the application text readable. Review the capture area because private filenames or notifications may appear in the recording. A video watched on a phone may need a closer crop than a full desktop view. Choose the recording area according to the purpose of the content.
Check the result before finishing
Open the recording and check its beginning, end and a segment in the middle. Make sure sound has not disappeared, the picture has not frozen and the relevant text remains readable. A small review can help avoid re-recording everything. This use case informs our aim to bring recording controls and visible audio levels into one Content Record Pro panel.